Cyclone build part 4 – The Upper Body
Ok so this is a biggie. Mk1 version of the upper was super difficult to construct. Mk2 was relativity easy, simply because I used a sensible polycarbonate thickness – 1.5mm instead 3mm.
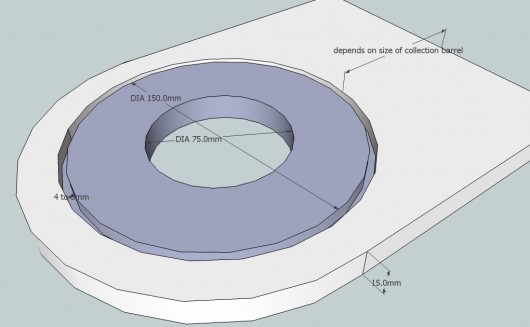
You can start by making the lid and lower support. They can then be used as a jig to wrap up the polycarbonate cylinder. For the lid we just rout a circular trench. If you don’t have a router, you could probably get the same effect by cutting circular bits with a jigsaw and gluing them together. After that we rout out a smaller circular hole of 75mm diameter for the air outlet to fit through.
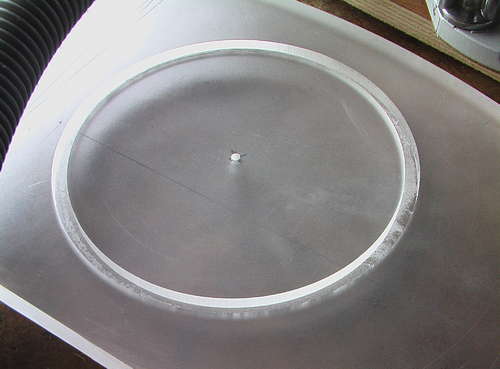
This doesn’t need to be acrylic like this (though it is nice because it lets more light in), you could use plywood or similar. The lid is also going to form part of the support / mount for the cyclone’s integration into the main body of the Dust Sniper, so lets shape it for that. This can be done with the router, or a bandsaw or even a circular saw, depending on the shape you want.
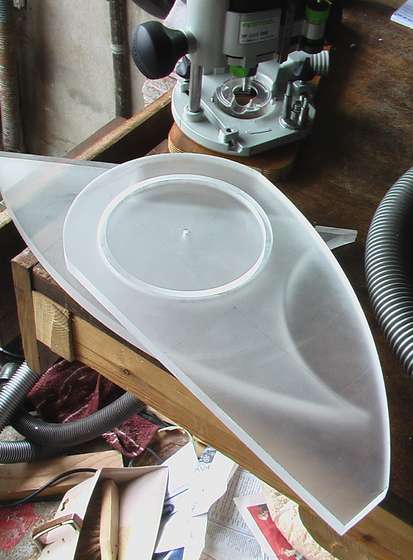
Once all the circular routing is complete (I routed the far edge as well), we rout out the centre hole for the air outlet tube. You need to do it this way round because once the middle is done you lose your anchor point for the circle cutting jig.
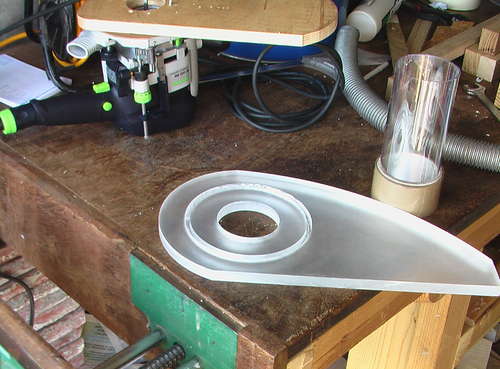
If we cut a sliver of old bicycle inner tube it makes a fine air seal. Seat it into the bottom of the trench with a flat bladed screwdriver.
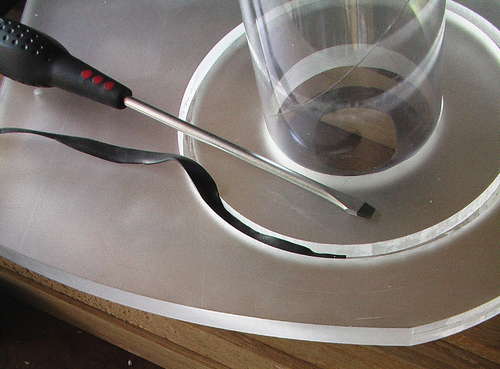
Lid is cut to size and all ready to go.
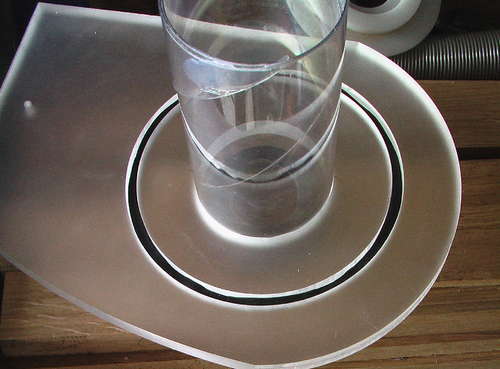
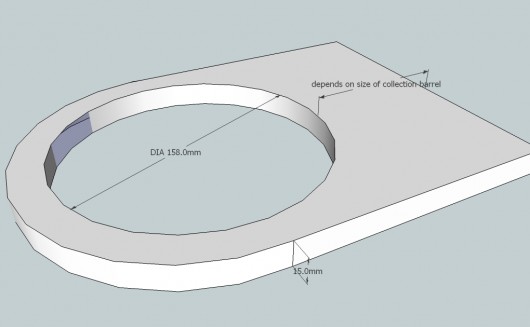
For the lower support, we simply rout all the way through, so that we make a hole that will encircle and stabilise the upper body’s cylindrical shape (see diagrams). The only tricky bit about routing out circle shapes: when you get to the end the router jigs central pivot point is loosed – because the inner circle can then move freely inside the outer. This can cause some crazy runaway router antics. I stop just before completion and tidy up with a very sharp knife…
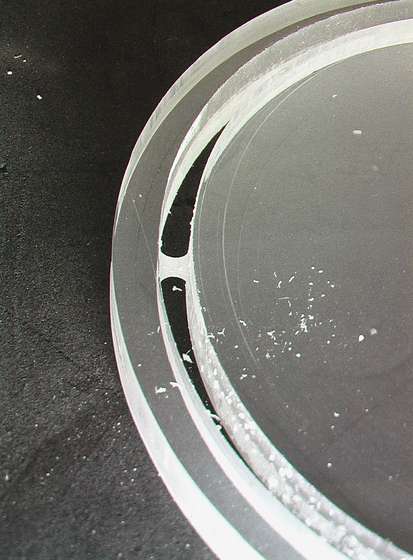
The main consideration to the upper body is that before we wrap it up we need to make a groove on the inside face that will help to locate the air ramp correctly. If you don’t have a router, you could maybe get away without one, but you are still going to want to draw the line on the inside face before wrapping the cylinder shape, so you can align and glue the air ramp.
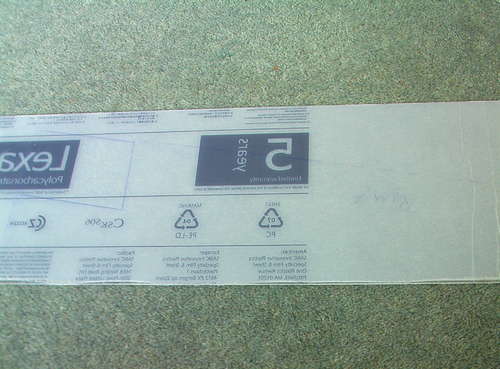
As with the cone, we also need to be sure that the overlap on the inside of the cylinder forms a drop for the air rather than a bump up. In other words you need to work out the direction the cyclone air will be spinning at this point so you get it right. If the air is hurtling round and hits even a small ‘wall’ it will add a fair bit of turbulence and all the dust and debris will catch on it horribly.
A very shallow groove (like 0.2mm) routed in the inside will position and firmly hold the air ramp. The cut in the photo is actually quite clean, it is just the protective film that is a bit frayed along one edge. Don’t even think about routing this freehand unless you are superhuman.
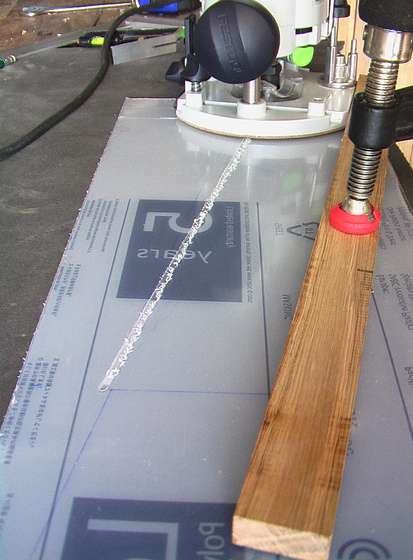
Once marked up we can actually cut this thickness ok with a sharp knife and steel ruler. It just takes a few passes to go cut the way through.
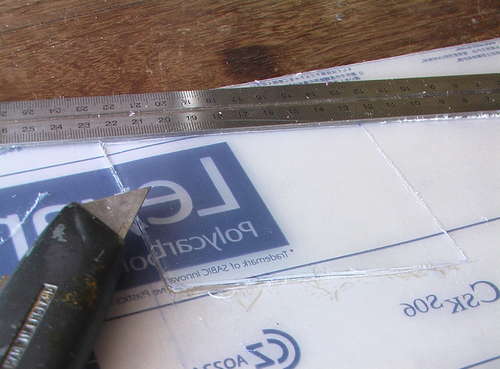
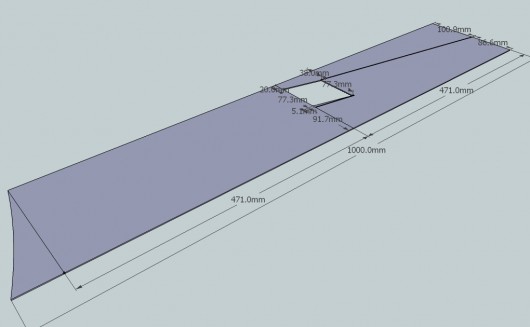
Below is the upper body ready to roll. It is long and thin (1.5mm), like the cone, it overlaps when you roll it up.
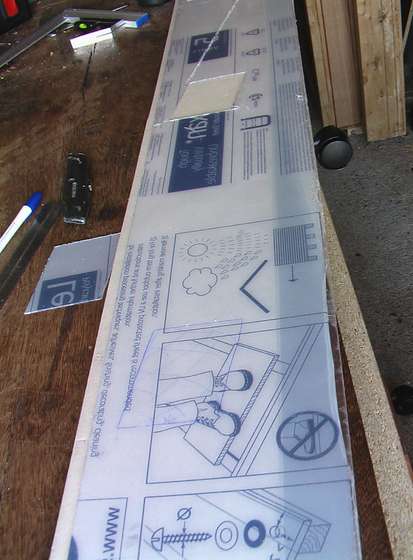
Once we wrap it up in the jig, we need to mark out the inlet hole on the outer skin, so that we can cut that out too.
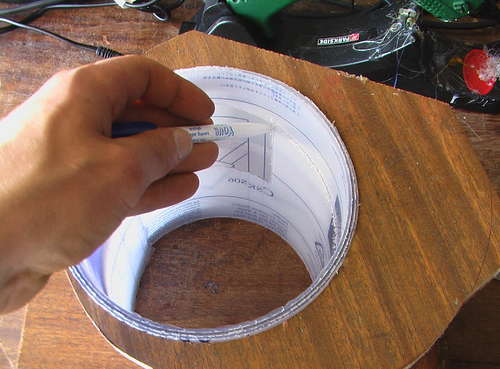
It is most exciting when it is time for it to come together and the protective film is peeled off.
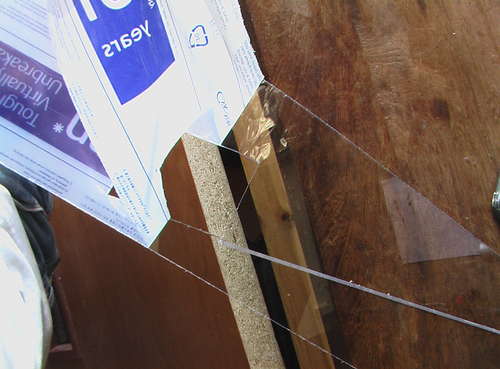
The ramp is glued in place along the top of the outer edge with a continuous bead. This way any bumps or inconsistencies in the glue line will not cause turbulence (because the air is travelling underneath the air ramp).
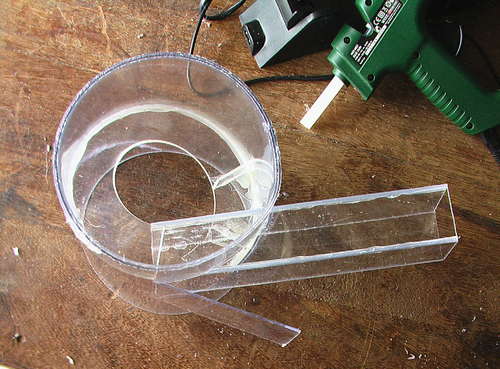
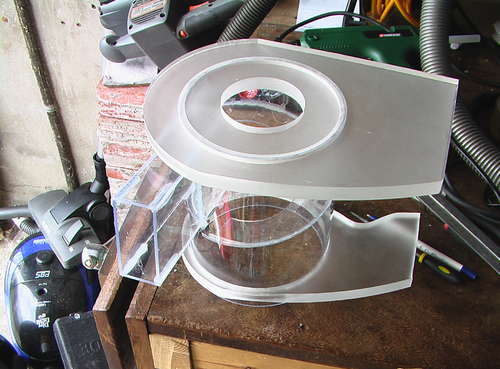
Upper cyclone with the lid on, all prepped and pretty much ready.
The Cyclone’s lid, cutting diagram – click for a bigger image.
The cyclone’s lower support diagram – again, it can be made of any suitably strong material you can get your hands on, and does not necessarily need to be 15mm thick.
The cutting diagram for the cyclone body’s shell.
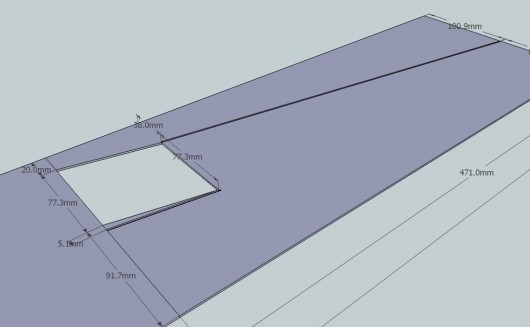
A close up of the same cyclone body’s shell diagram.
| Previous Cyclone Step | Next Cyclone Step |

March 23rd, 2013 at 2:38 am
in regards to your diagram, “A close up of the same cyclone body’s shell diagram”.
I use sketchup and pulled up your file, and the path you have beveled out or marked for the ramp, is not at the same angle of the inlet, from what i can tell, is this how it is supposed to be, or are they supposed to be at exactly the same angle?
Also on that same diagram, where you cut out the inlet opening? I can see the measurements easily for the edge that shows on the left and right of that box shaped cut, but i dont see where the measurements are for the top and bottom edge are in the photo,
June 1st, 2017 at 10:05 am
Hello I have the same question as Todd Mueller regarding the air ramp angle as drawn on the top body section and also you havent given the width of the inlet section , as its on a round cylinder its obviyously not the 37.5 of the inlet.
April 22nd, 2020 at 7:02 am
Since I saw your cyclone implementation years ago I have never forgotten it. And now I’m finally about to build a DC system though a large one for woodworking. Inspired to use a plastic as you have, instead of the galvanised metal sheeting like most people. I’m leaning towards PETG over PC. Anyway thanks for your site and build!
April 29th, 2020 at 10:07 am
Hi Simon,
Really appreciate you getting in touch. PETG seems an excellent choice. And once cold formed, I think it can be ‘thermo-set’ quite easily (unlike PC).
Would love to know how it all goes for you.
Peace, Bongo.